OpenAI Quickstart
In this tutorial, you'll learn how to build an interactive AI application and deploy it to the cloud in just 9 lines of code.
Tutorial
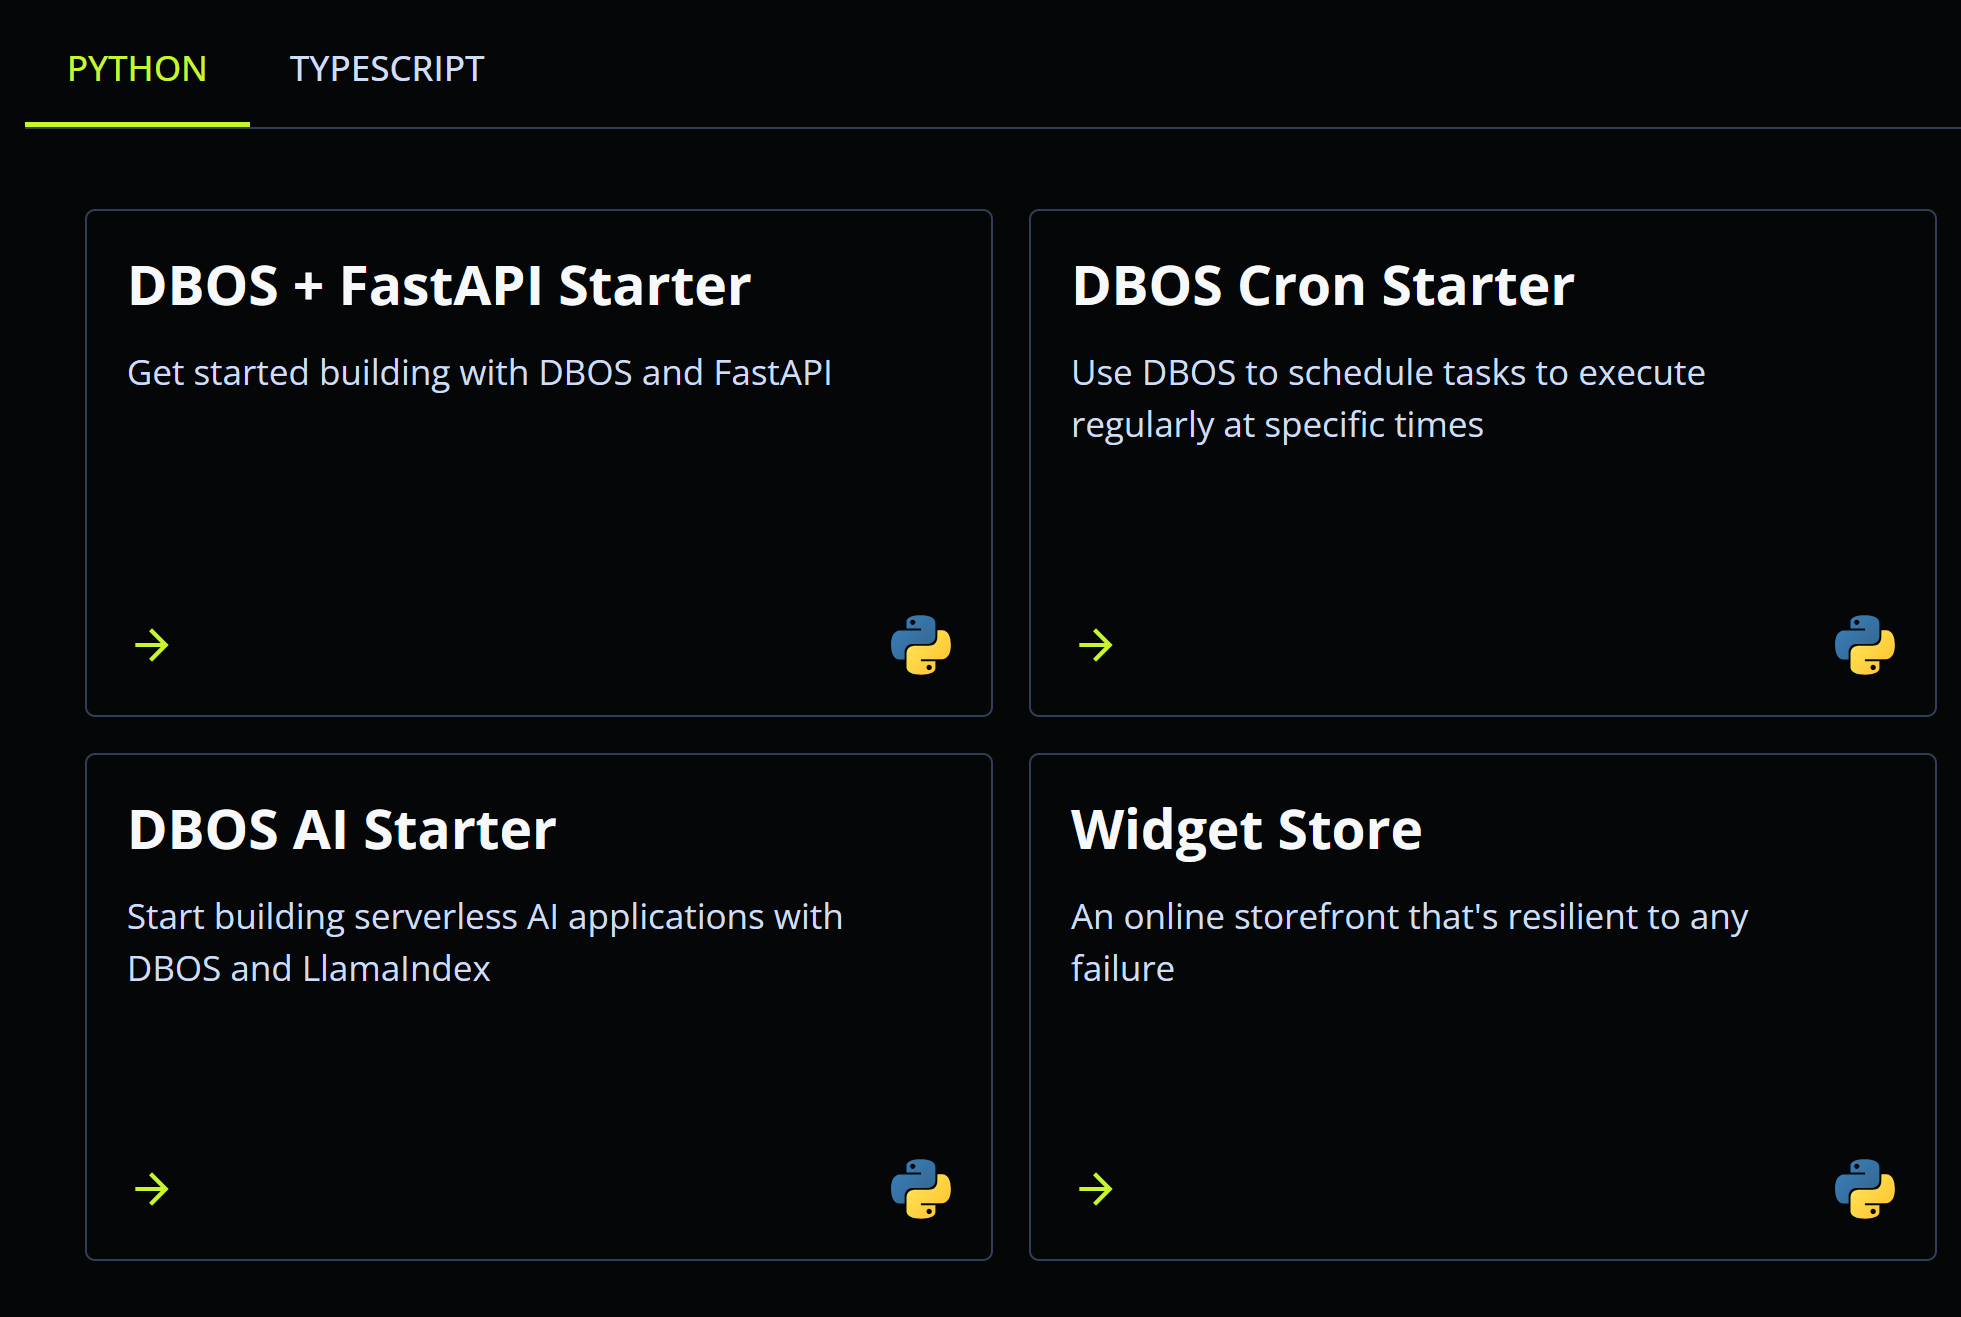
1. Select the DBOS AI Starter
Visit https://console.dbos.dev/launch and select the DBOS AI Starter. When prompted, create a database for your app with default settings.

2. Connect to GitHub and Deploy to DBOS Cloud
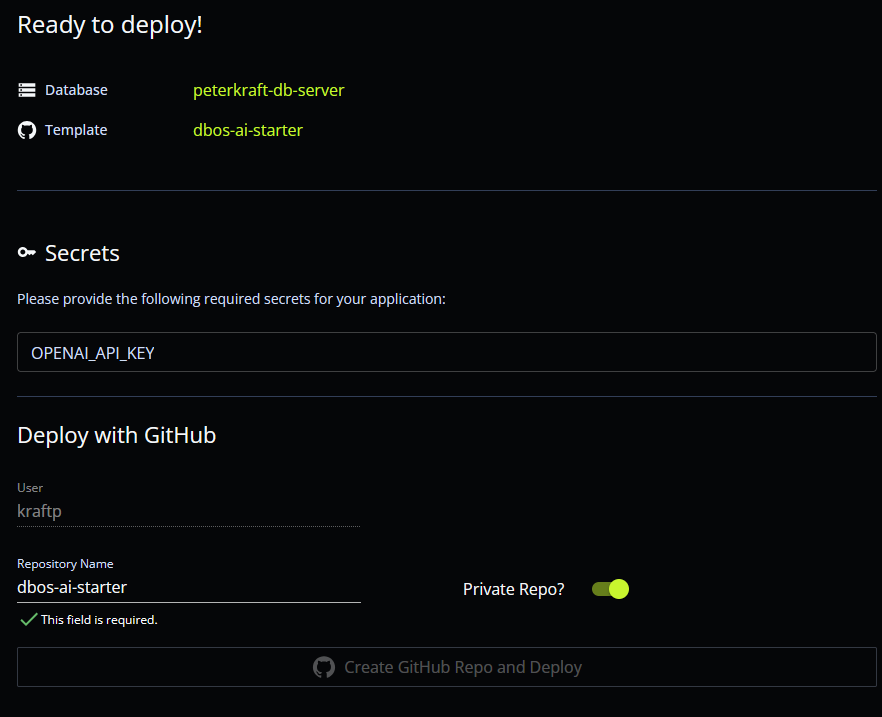
To ensure you can easily update your project after deploying it, DBOS will create a GitHub repository for you. You can deploy directly from that GitHub repository to DBOS Cloud.
First, sign in to your GitHub account. Then, enter your OpenAI API key as an application secret. You can obtain an API key here. This key is securely stored and used by your app to make requests on your behalf to the OpenAI API. Then, set your repository name and whether it should be public or private.
Next, click "Create GitHub Repo and Deploy" and DBOS will clone a copy of the source code into your GitHub account, then deploy your project to DBOS Cloud. In less than a minute, your app should deploy successfully.

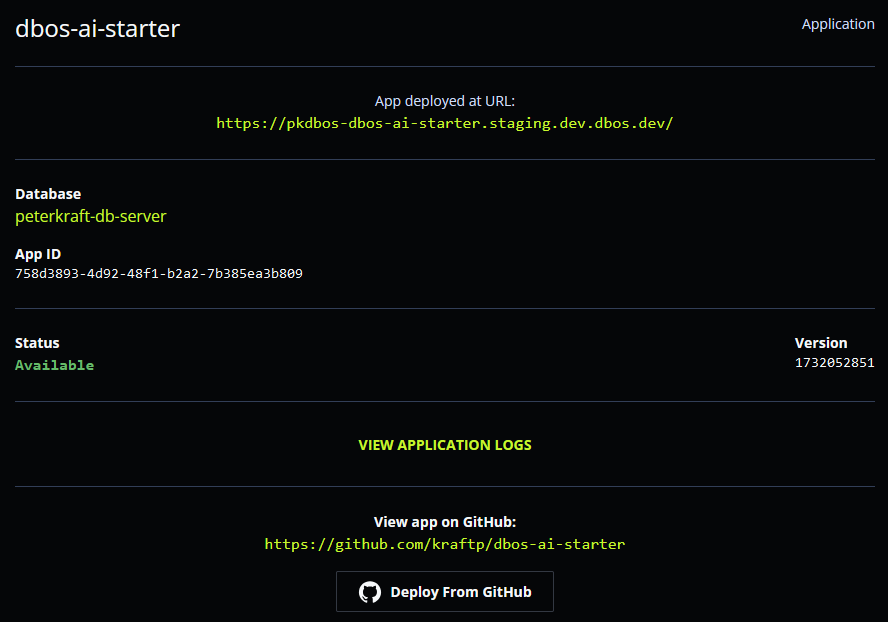
3. View Your Application
At this point, your new AI application is running in the cloud.
It's implemented in just 9 lines of code—to see them, visit your new GitHub repository and open app/main.py.
This app ingests a document (Paul Graham's essay "What I Worked On") and answers questions about it using RAG.
Click on the URL to see it answer a question!
from llama_index.core import VectorStoreIndex, SimpleDirectoryReader
from fastapi import FastAPI
from dbos import DBOS

app = FastAPI()
DBOS(fastapi=app)

documents = SimpleDirectoryReader("data").load_data()
index = VectorStoreIndex.from_documents(documents)
query_engine = index.as_query_engine()

@app.get("/")
def get_answer():
    response = query_engine.query("What did the author do growing up?")
    return str(response)
4. Start Building
To start building, edit your application on GitHub (source code is in app/main.py), commit your changes, then press "Deploy From GitHub" on your applications page to see your changes reflected in the live application.
Not sure where to start? Try changing the question the app asks and see it give new answers! Or, if you're feeling adventerous, build an interface to ask your own questions.

Next Steps
Next, check out how DBOS can help you build resilient AI applications at scale:
- Use durable execution to write crashproof workflows.
- Read "Why DBOS?" to learn how DBOS works under the hood.
- Want to build a more complex app? Check out the AI-Powered Slackbot, Document Detective, or LLM-Powered Chatbot.
Running It Locally
You can also run your application locally for development and testing.
1. Git Clone Your Application
Clone your application from git and enter its directory.
git clone <your-git-url>
cd dbos-ai-starter
2. Set up a virtual environment
Create a virtual environment and install dependencies.
- macOS or Linux
- Windows (PowerShell)
- Windows (cmd)
python3 -m venv .venv
source .venv/bin/activate
pip install -r requirements.txt
python3 -m venv .venv
.venv\Scripts\activate.ps1
pip install -r requirements.txt
python3 -m venv .venv
.venv\Scripts\activate.bat
pip install -r requirements.txt
3. Start Your Appliation
Export your OpenAI API key to your application.
Next, start your application with dbos start, then visit http://localhost:8000 to see it!
export OPENAI_API_KEY=<your key>
dbos start