Cloud Cron Quickstart
Let's say you want to run some code on a schedule. For example, you want to:
- Record a stock's price once a minute.
- Migrate some data from one database to another once an hour.
- Send emails to inactive users once a week.
This kind of code isn't easy to manage because the server running it has to always be "on"—you can't just run it on your laptop.
In this tutorial, we'll show you how to use DBOS to run code on a schedule in the cloud so you don't have to worry about maintaining it. You'll learn how to write a scheduled (cron) function in just 6 lines of Python code and deploy it to the cloud with a single click.
Tutorial
1. Select the Cloud Cron Starter
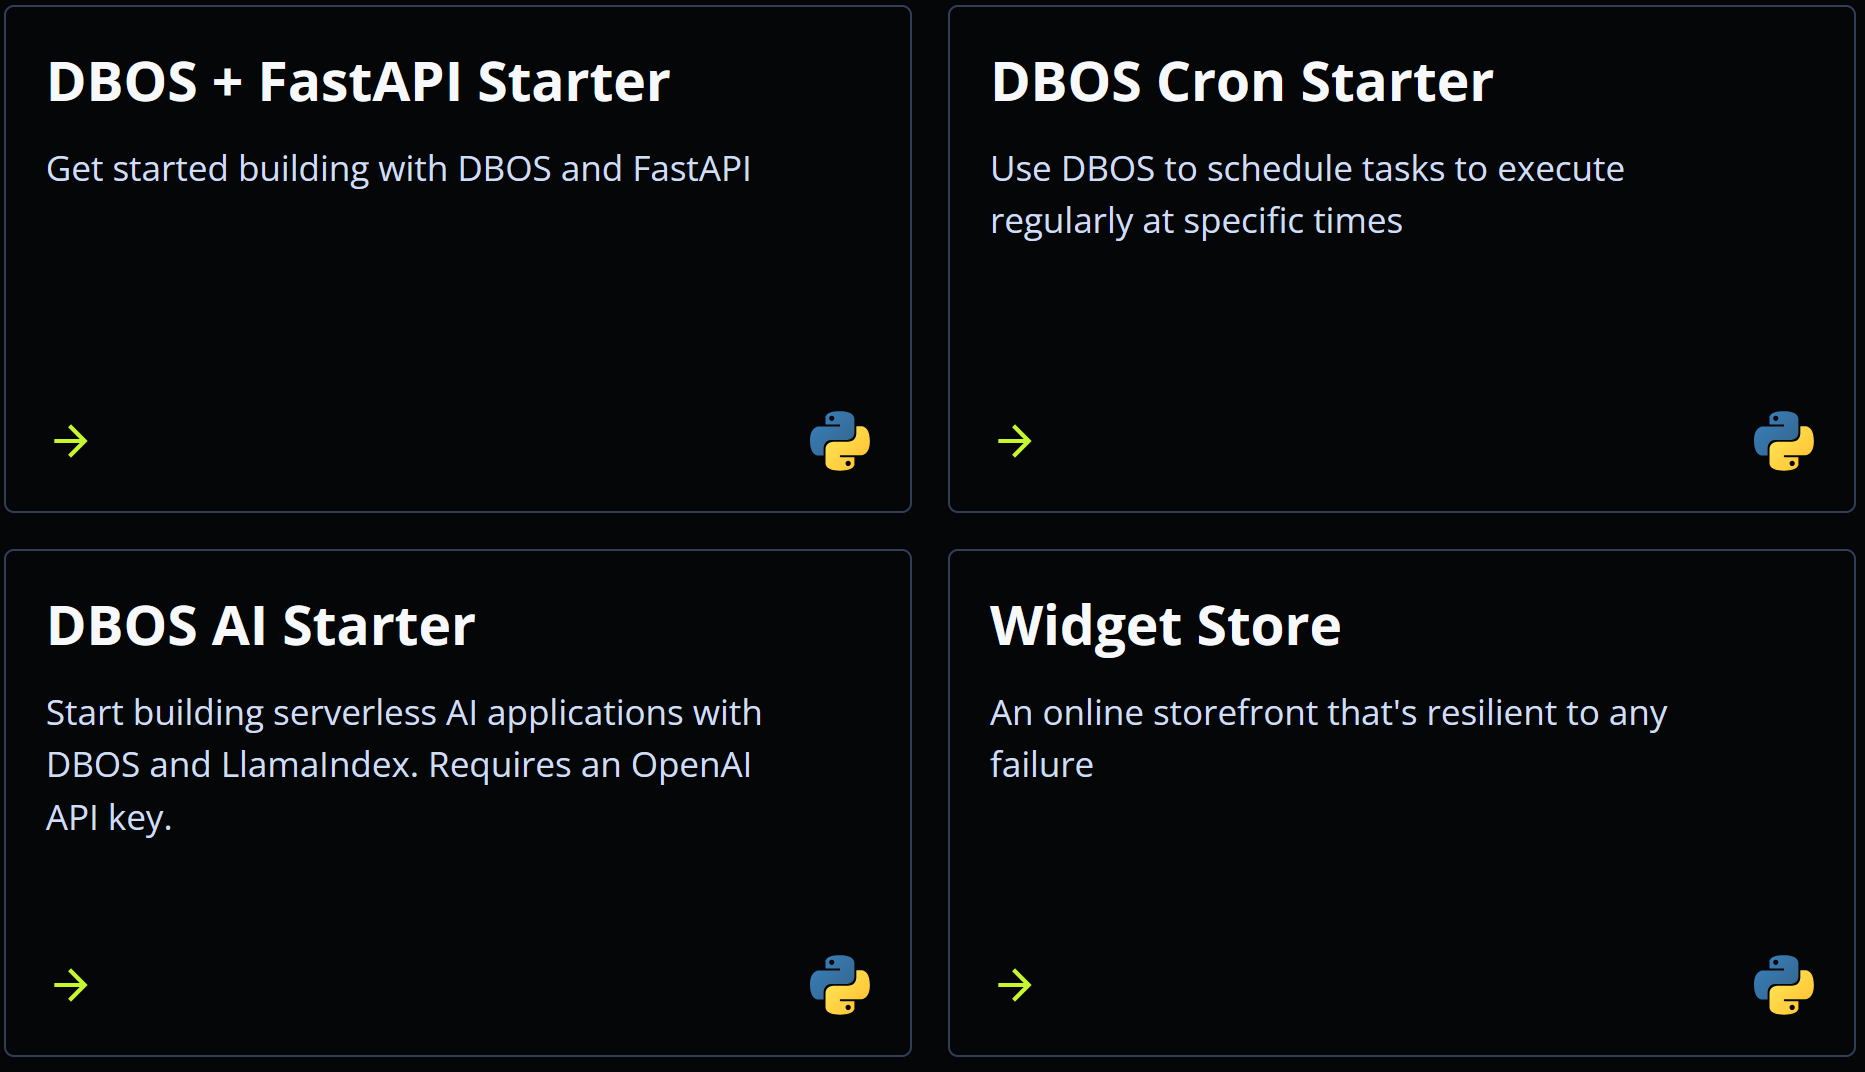
Visit https://console.dbos.dev/launch and select the DBOS Cron Starter. When prompted, create a database for your app with default settings.

2. Connect to GitHub and Deploy to DBOS Cloud
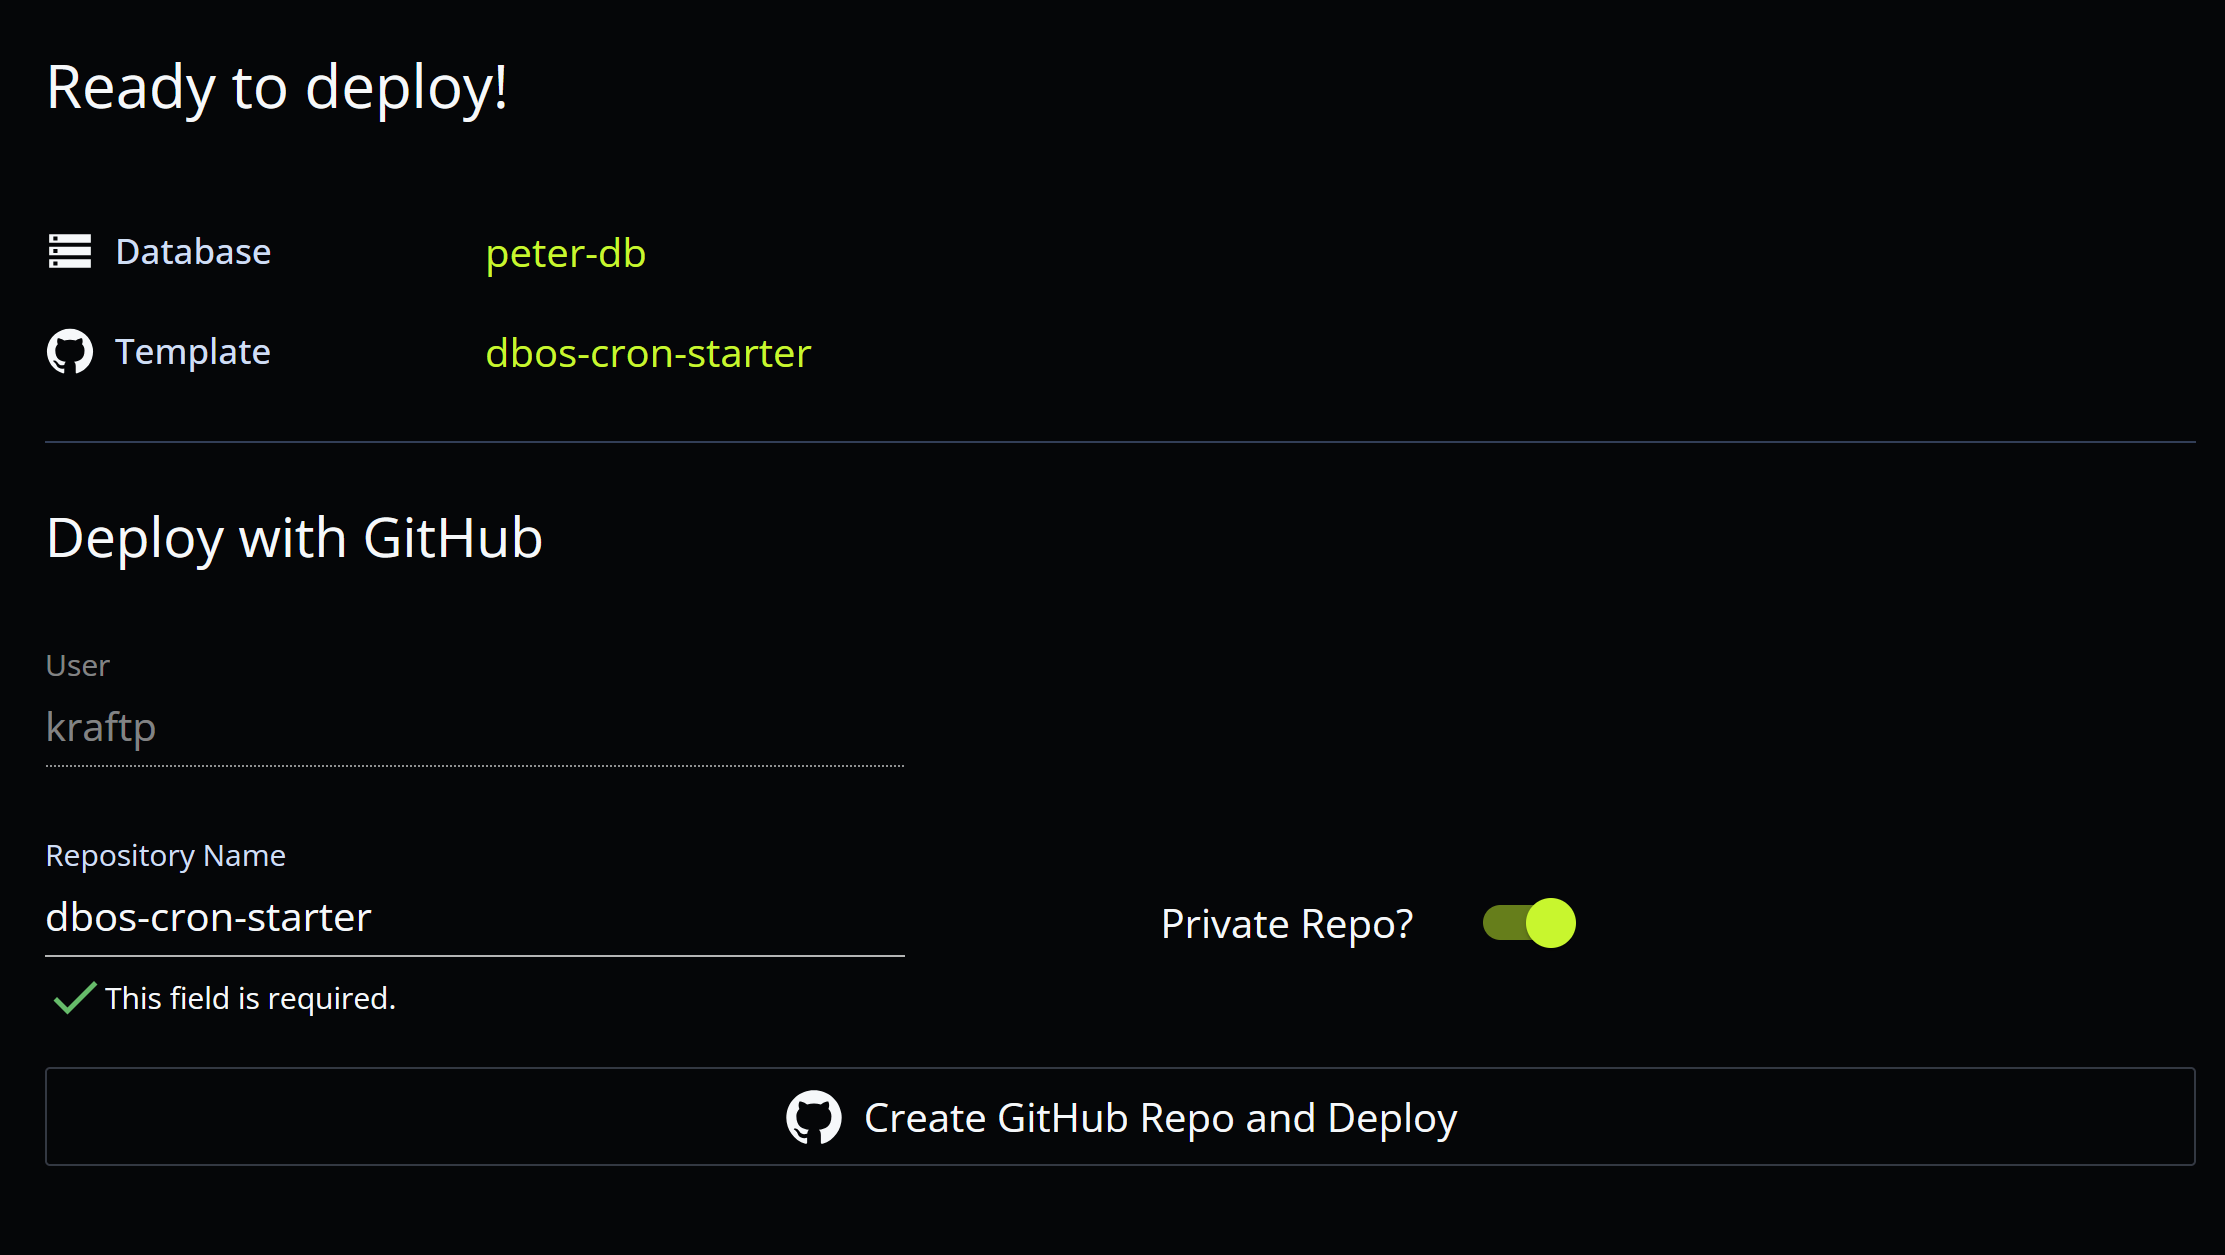
To ensure you can easily update your project after deploying it, DBOS will create a GitHub repository for you. You can deploy directly from that GitHub repository to DBOS Cloud.
First, sign in to your GitHub account. Then, set your repository name and whether it should be public or private.
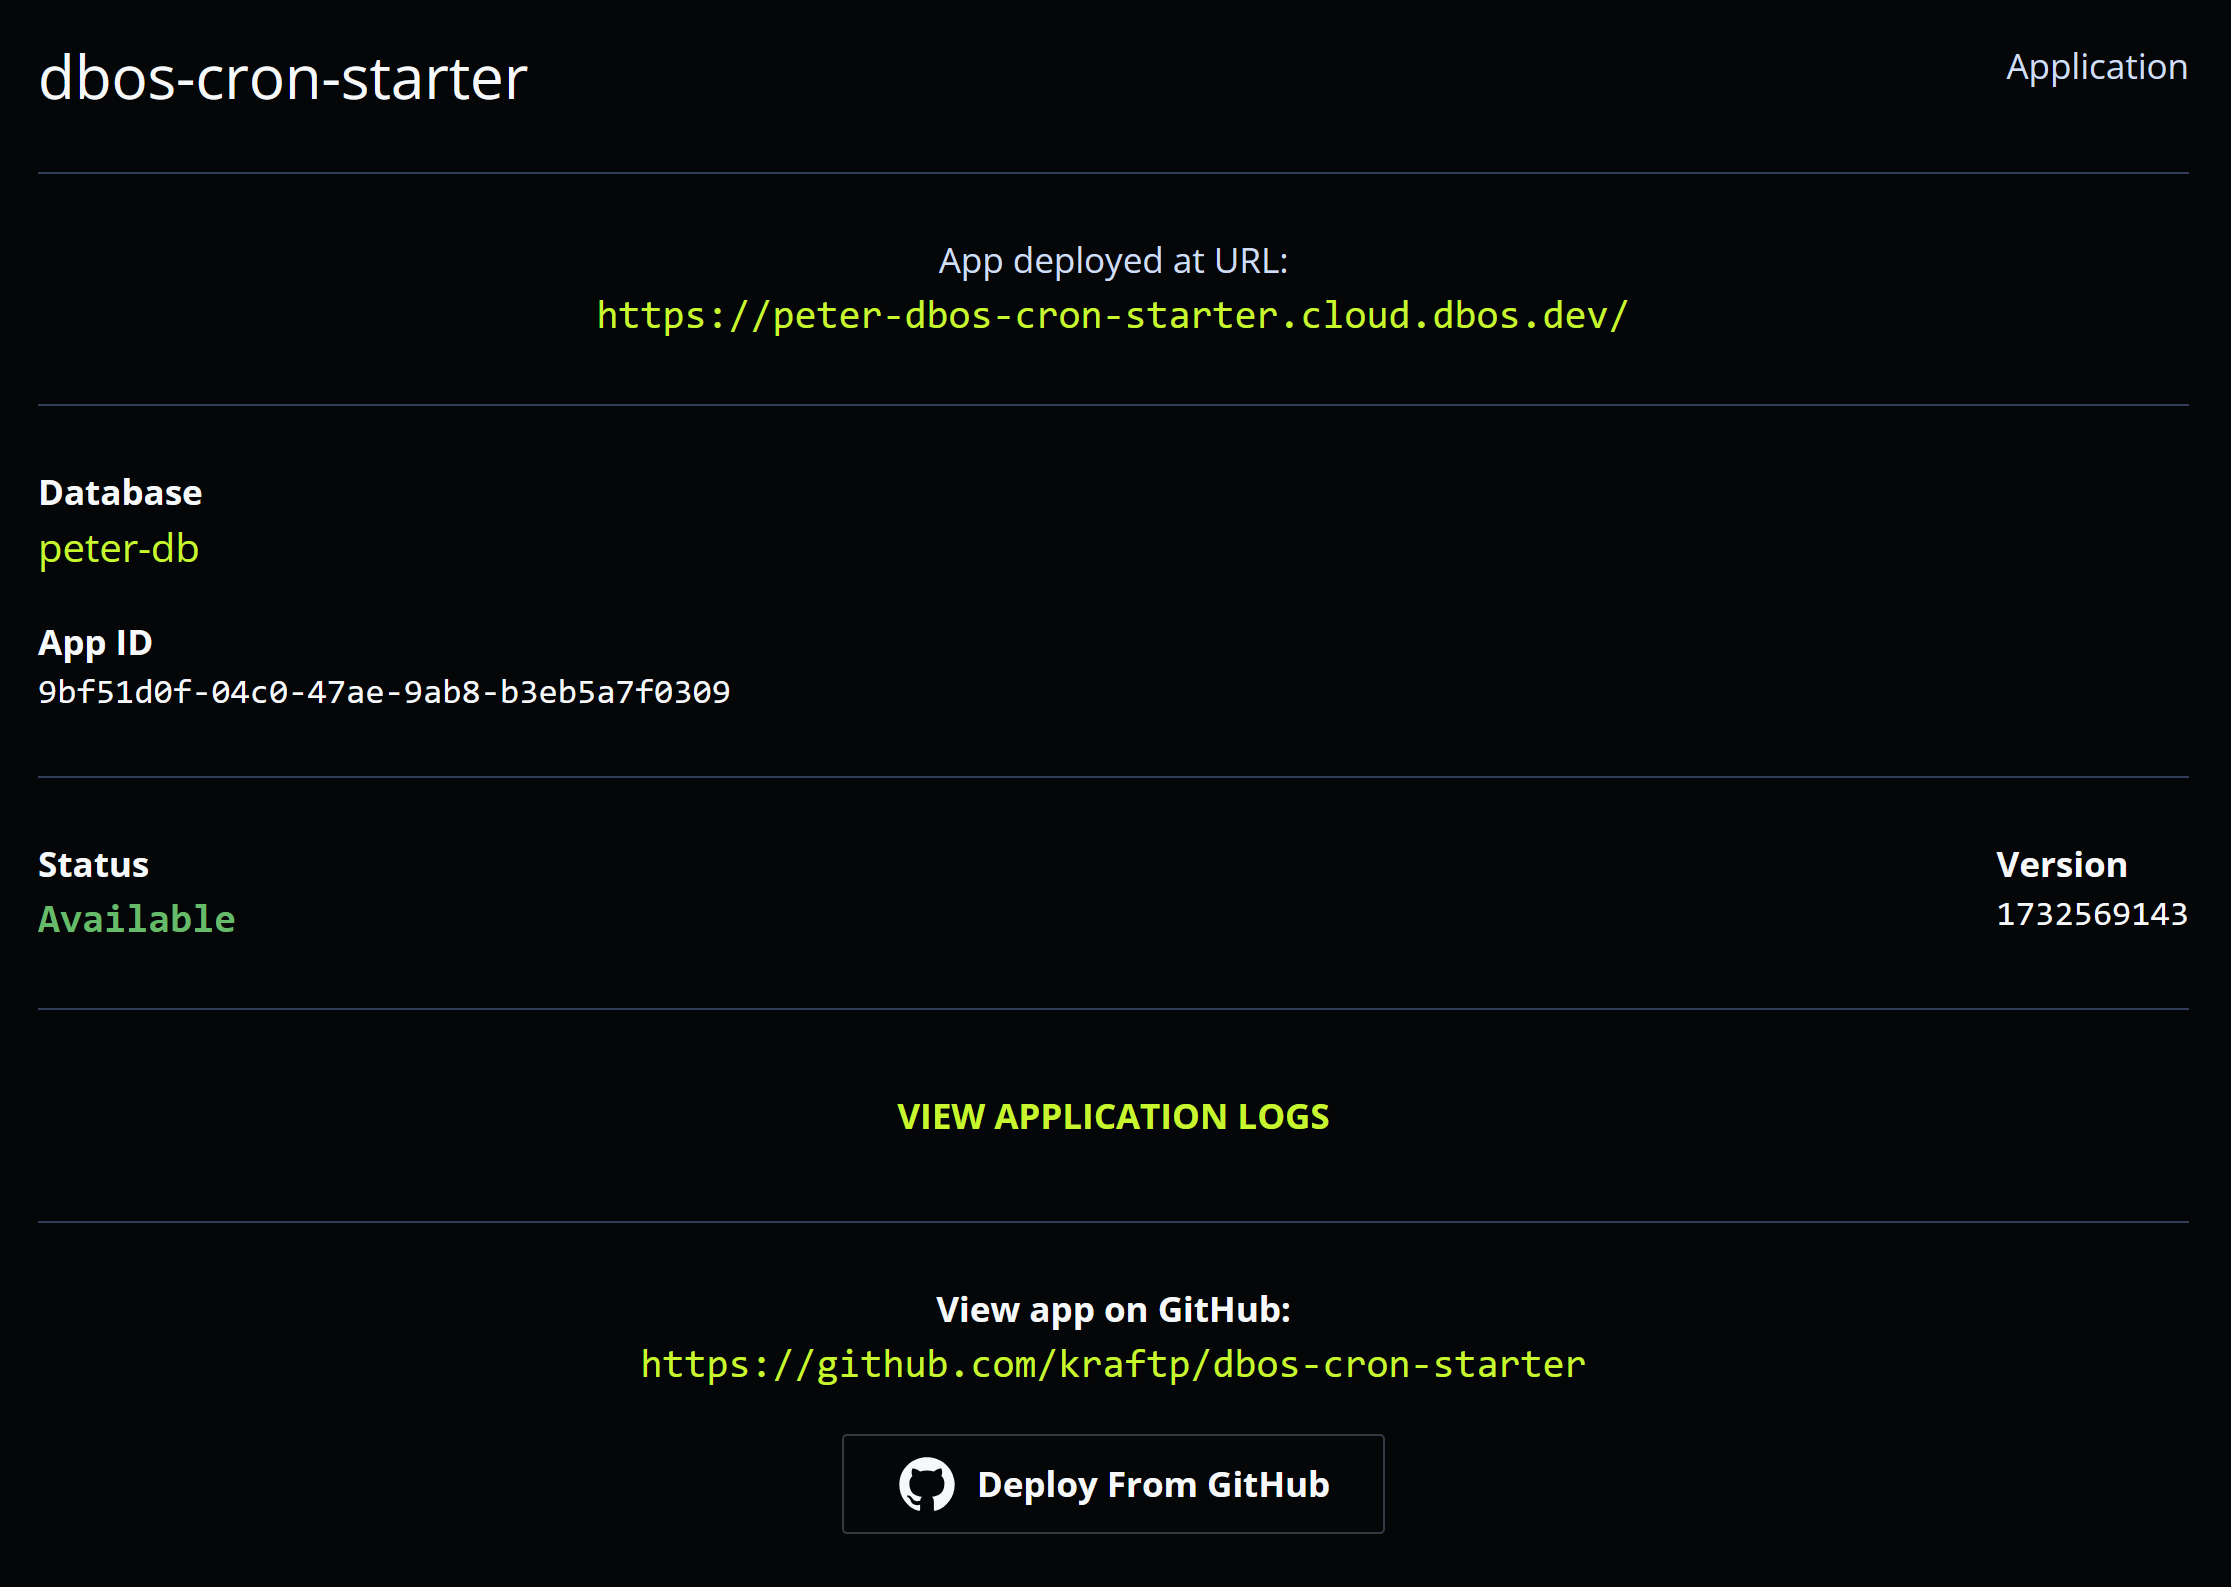
Next, click "Create GitHub Repo and Deploy" and DBOS will clone a copy of the source code into your GitHub account, then deploy your project to DBOS Cloud. In less than a minute, your app should deploy successfully.

3. View Your Application
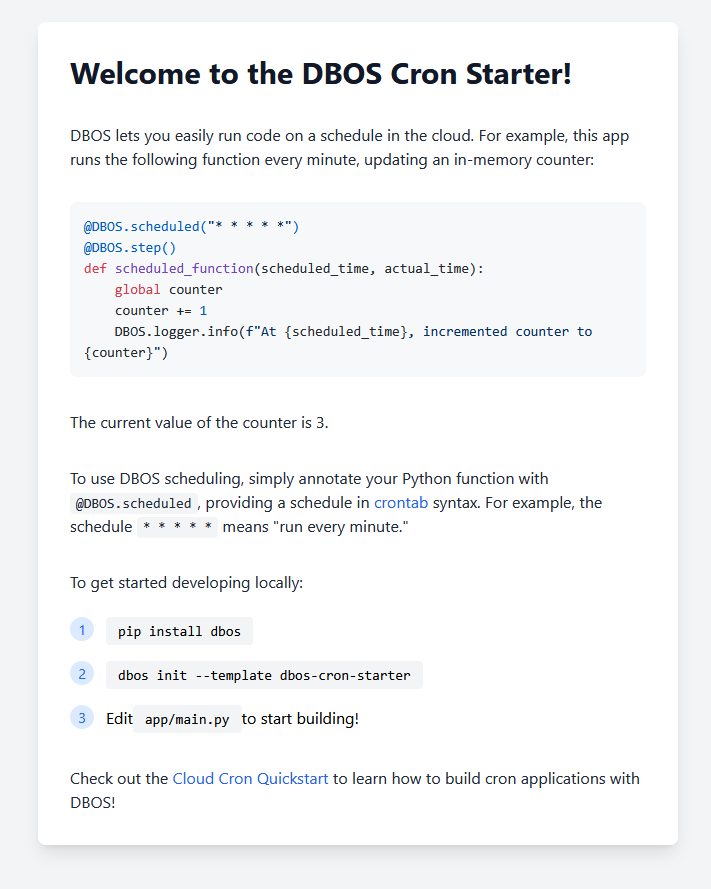
At this point, your app is running code on a schedule in the cloud! Visit its URL to see it—it should look like this:

To see your new app's code, visit your new GitHub repository and open app/main.py.
The app schedules a function incrementing a counter to run once a minute (the cron syntax * * * * * means "once a minute").
The app page displays the current value of the counter.
4. Start Building
To start building, edit your application on GitHub (source code is in app/main.py), commit your changes, then press "Deploy From GitHub" on your applications page to see your changes reflected in the live application.

Next Steps
You can adapt this 6-line starter to implement your own scheduled job.
Replace scheduled_function with your own function to run it on a schedule!
Some useful implementation notes:
- Schedules are specified in crontab syntax.
For example,
* * * * *means "run once a minute." To learn more about crontab syntax, see this guide. - The two arguments passed into
scheduled_functionare the time the run was scheduled (as adatetime) and the time the run was actually started (as adatetime). - For more information, see the scheduling documentation.
Here are two larger examples built with DBOS scheduling:
- Hacker News Slackbot: Periodically search Hacker News for people commenting about serverless computing and post the comments to Slack.
- Earthquake Tracker: Use a scheduled job to scrape earthquake data from the USGS, then build a real-time earthquake dashboard over it.
Running It Locally
You can also run your application locally for development and testing.
1. Git Clone Your Application
Clone your application from git and enter its directory.
git clone <your-git-url>
cd dbos-cron-starter
2. Set up a virtual environment
Create a virtual environment and install dependencies.
- macOS or Linux
- Windows (PowerShell)
- Windows (cmd)
python3 -m venv .venv
source .venv/bin/activate
pip install -r requirements.txt
python3 -m venv .venv
.venv\Scripts\activate.ps1
pip install -r requirements.txt
python3 -m venv .venv
.venv\Scripts\activate.bat
pip install -r requirements.txt
3. Start Your Appliation
Start your application with dbos start, then visit http://localhost:8000 to see it!
dbos start