Use DBOS With Neon
Here's how to connect your DBOS application running on your computer or cloud environment to your Neon database.
1. Set up a Local Application
If you haven't already, follow the quickstart to set up a DBOS application locally. The rest of this guide will assume you have a local application.
2. Connect to Your Neon Database
Next, open your Neon dashboard, select a project, and click "Connect" to retrieve connection information for your Neon database. You should see a screen that looks like this:
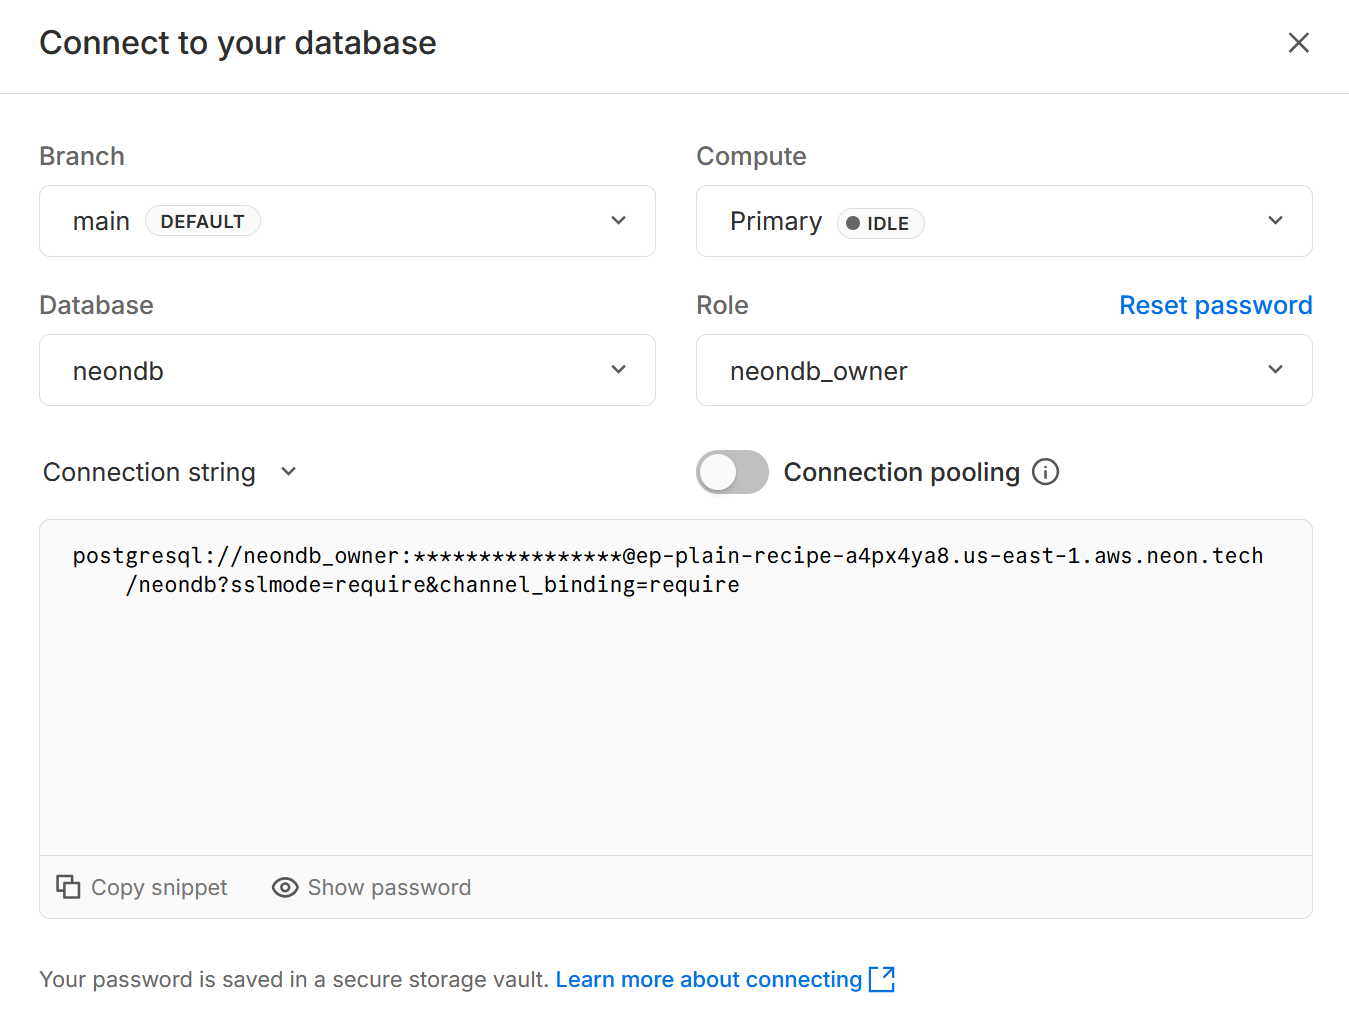
This page shows the connection string for your database. There are a few settings you may wish to alter before retrieving this connection string:
- Make sure you are viewing your "Connection string" from the dropdown.
- We recommend disabling connection pooling when connecting from DBOS.
- By default, you will use the
neondbdatabase. If you want to use a different database, create it from the dropdown.
When you are ready, copy the connection string (including the password) from the dashboard and set the DBOS_SYSTEM_DATABASE_URL environment variable to it:
export DBOS_SYSTEM_DATABASE_URL="<your connection string>"
3. Launch Your Application
Now, launch your DBOS application. It should successfully connect to your Neon database, printing your masked Neon database URL on startup.
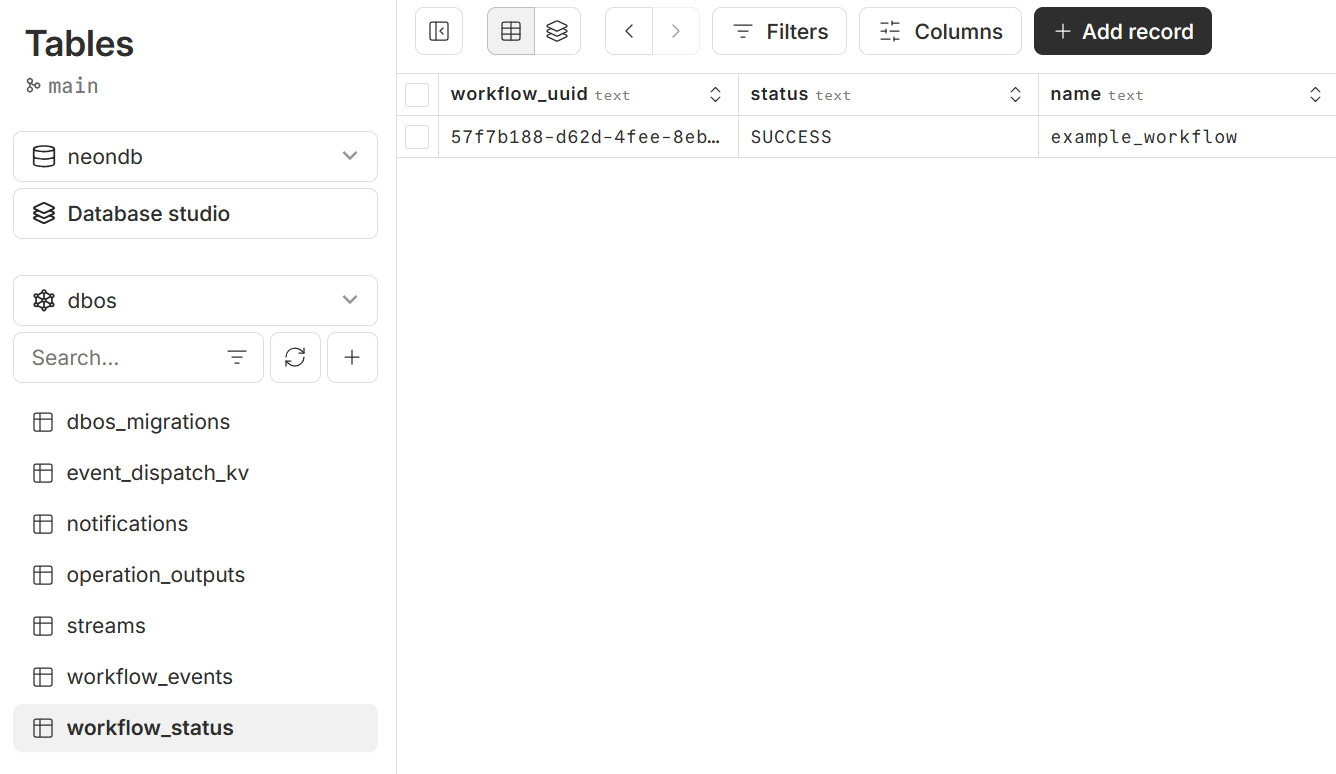
After connecting your DBOS application to Neon, you can use the Neon console to view your DBOS system tables.
Open the "Tables" tab in the Neon console.
For your database, select the database to which you connected your DBOS application (default neondb).
For your schema, select "dbos".
You can now see DBOS durably checkpoint your workflows to your Neon database: